Phoenix Android Radios
New edition Plug and Play Intelligent Car Window Control Module for Nissan Altima Teana Sentra 2013-2017
New edition Plug and Play Intelligent Car Window Control Module for Nissan Altima Teana Sentra 2013-2017
Couldn't load pickup availability
Compatibility | Features | Specifications | Demo Video | FAQ | Reviews
New Edition w/ all window anti-pinch support Plug and Play Intelligent Car Window Control Module Automatic Closer Roll Up/Down One Window a Time for 2013-2017 Nissan Altima/Teana 2013-2017 Nissan Sentra 2014-2017 Nissan Murano 2014-2017 Nissan Rogue/X-Trail
Compatibility:
- This Intelligent Window Module Can Be Installed in left-hand drive 2013-2017 Nissan Altima/Teana 2013-2017 Nissan Sentra 2014-2017 Nissan Murano 2014-2017 Nissan Rogue/X-Trail.
- Note: the passenger-side window cannot be controlled if your car also has passenger-side anti-pinch window, and there is no existing solution.
- All windows have anti-pinch support.
- Plug and Play, no wiring required.
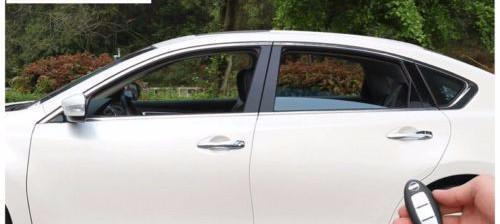
- With the factory remote, roll up, or roll down all windows, or roll down a seam for all windows to let heat out.
- Automatically rolls up the windows when locking the car doors. No longer need to worry about loss from theft or bad weather due to forgetting rolling up windows.
- If you don't want to roll up the windows, just press 'Unlock' and then press 'Lock' within 1.5 seconds.
- When car is off, press 'Unlock'->'Lock'->'Unlock' within 3 seconds to roll down all the windows.
- When car is off, press 'Lock'->'Unlock'->'Lock' within 3 seconds to roll down a seam for all the windows.
- Press 'Unlock' to pause rolling up. Press 'Lock' to pause rolling down.
- If the car did not have the feature, this module can add one touch rolling up/down each window when the key is at 'On' position. Release the main window switch within 0.5 second to activate one touch rolling up/down. Hold the switch longer to rolling up/down manually.
Working Voltage: DC 10 - 14 V
Working Temperature: -22 - 176 F.
Installation (Please refer to the pictures)
- Remove and isolate the negative terminal from negative post of the battery, and wait at least 3 minutes before disconnecting any electrical connectors in the car.
-
Remove driver-side front door finisher. (Please refer to factory service manual for your car for detailed instructions. INT.pdf -> REMOVAL AND INSTALLATION -> FRONT DOOR FINISHER. You can find Nissan factory service manuals here: http://www.nicoclub.com/nissan-service-manuals )
Some videos for removing door panels:
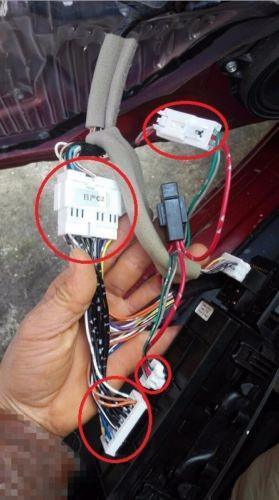
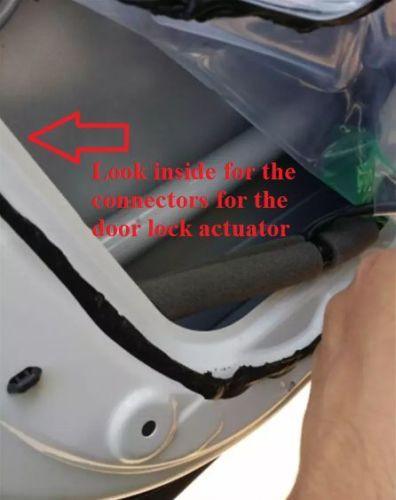
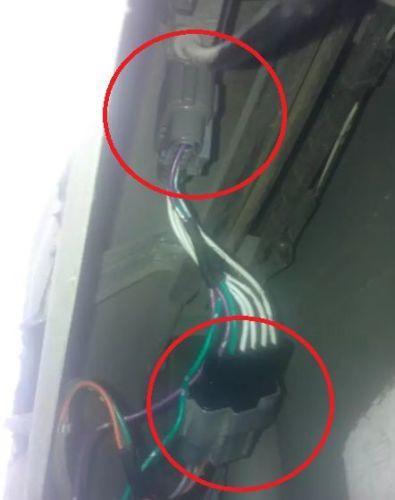
- Disconnect the two connectors at the main power window and door lock/unlock switch and one connector at the front door lock actuator LH.
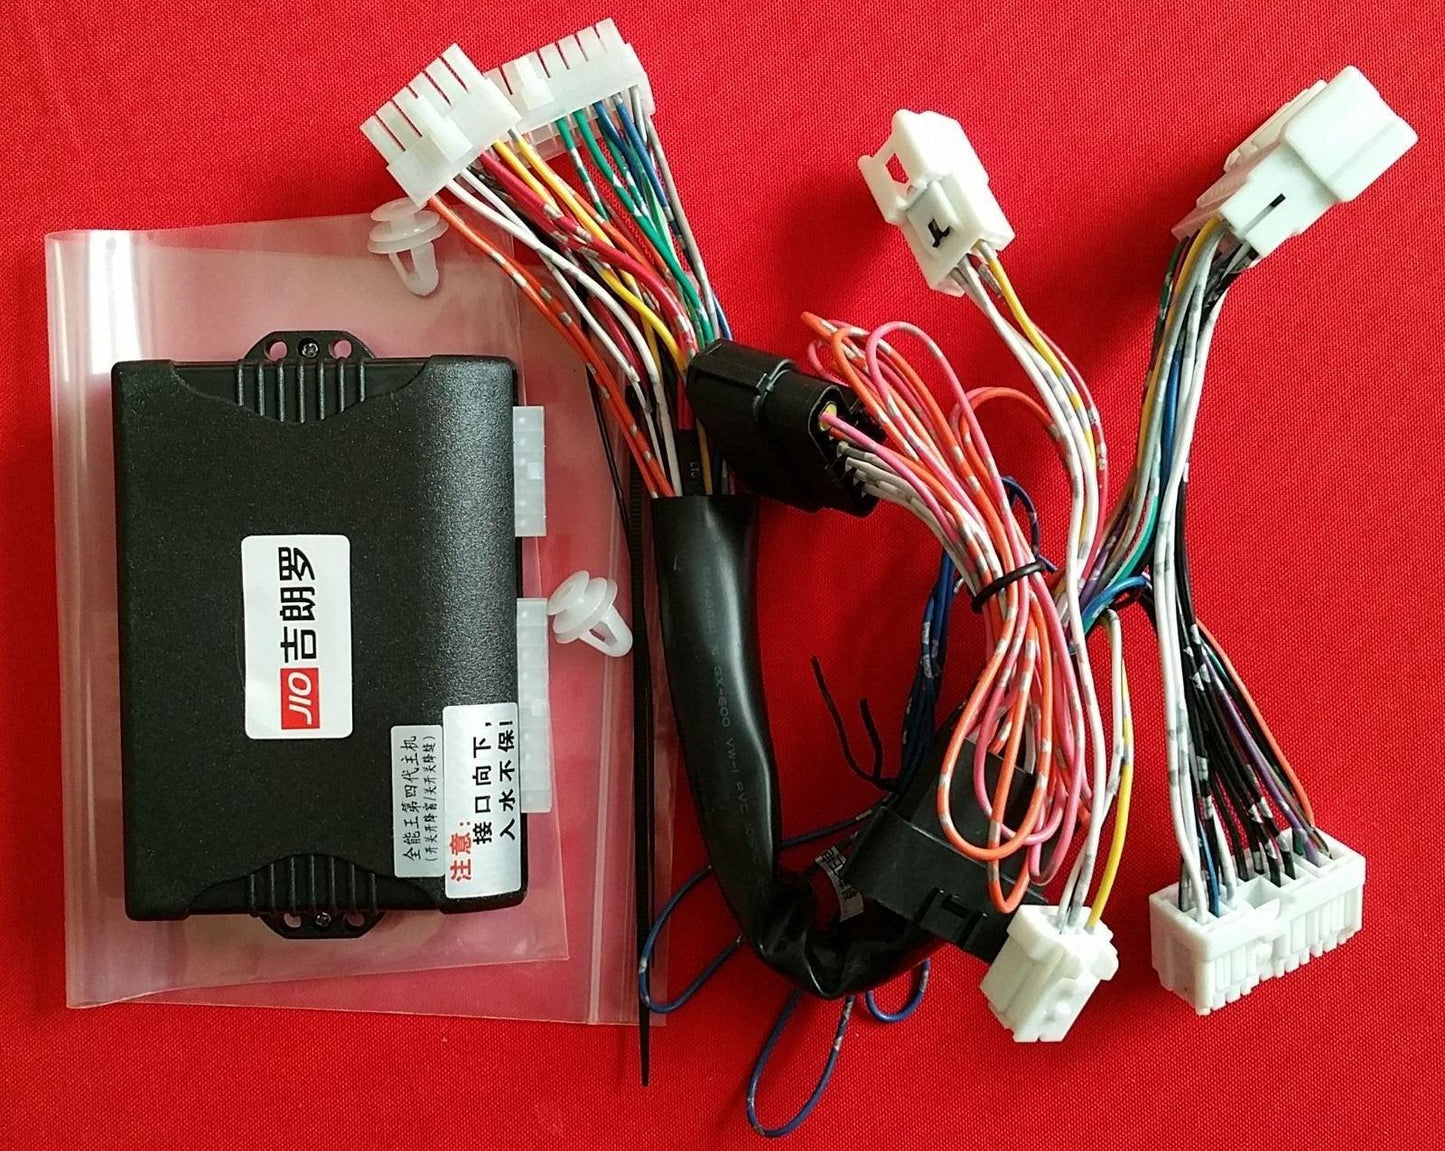
- Add the wiring of the intelligent window module using the connectors and harnesses that come with the module. All the connections (circled in the pictures) are made between connectors/harnesses of the car and harnesses/connectors that come with the intelligent window module. Don't make any connection within the wiring of the intelligent window module. Make sure all the connectors are securely connected.
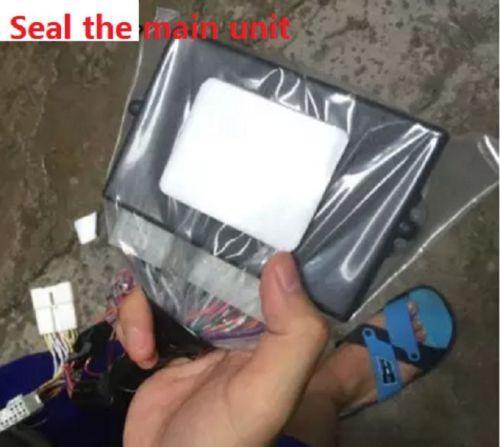
- Connect the main unit of the intelligent window module. Seal it in the plastic bag provided and let the opening facing down so that water won't enter the main unit.
- Securely mount the main unit with double-sided tape and/or wire ties in a place that won't interfere window rolling and other function of the car.
- Properly route and secure the wiring of the intelligent window module with wire ties.
- Reconnect the negative terminal to negative post of the battery. Test out all the function before reassembly.
Share
